


A good design prevents frustration during installation and use. With the Wasdroom configurator, you can put together your own combination in minutes, but the real difference comes from precise measuring and smart planning of plumbing and electrical work. Below you will find practical measuring instructions, clear guidelines for taps and drains, and concrete configuration tips for a cabinet that fits perfectly in your space in the Netherlands or Belgium.
First, measure your laundry space accurately
Measuring is the foundation of every successful design. Work calmly and note all dimensions at three points in height, width, and depth. Check walls and floor for squareness and flatness, and take into account skirting boards, pipes, sockets, and any bulkheads or sloping ceilings.
- Width: measure at floor level, at 90 cm, and at 180 cm. Note the smallest measurement. Include any protruding skirting boards or pipe ducts.
- Depth: measure from the back wall to the front edge where the cabinet ends. Account for hoses and plugs behind the appliances.
- Height: measure at at least three points from floor to ceiling. If there is variation, take the lowest measurement and allow clearance above.
- Obstacles: mark taps, drains, sockets, light switches, windows, and window sills. Note heights and distances from the corner.
- Clearance: check if doors of adjacent rooms or the cabinet itself can open freely and if you can fully extend hatches or drawers.
- Appliance space: allow extra depth for hoses and ventilation for a standard 60 cm washing machine or dryer. Leave 5-10 mm clearance all around.
- Floor and walls: check with a level. For deviations greater than 5-10 mm, plan adjustable feet and shims.
Finally, take clear photos of the space and connections. You will use these when configuring and possibly for coordination with your installer.
| Measurement point | Recommended margin |
|---|---|
| Niche width | 10-20 mm extra total space for placement and alignment |
| Niche depth | At least 650 mm, preferably 700 mm for hoses and plugs |
| Height to ceiling | 10-20 mm clearance above the highest point |
| Around appliances | 5-10 mm per side, 20-40 mm behind the machine |
| Skirting/foot | 15-20 mm recess or cutout for skirting boards |
Want to be extra sure of a well-thought-out layout and sizing? Put together your own combination in the configurator.
Tap, drain, and electrical: how to plan the plumbing
A well-thought-out plumbing plan prevents difficult adjustments during installation. Decide where you want the tap, drain, and sockets, and ensure everything remains accessible via a service hatch or cabinet door.
- Tap position: place the tap to the left or right of the appliances or in an accessible compartment. Recommended height is 100-120 cm above the floor, with space for a water trap. Preferably do not install behind a fixed drawer.
- Drain: a 40 mm drain at 60-90 cm height prevents backflow and kinks. Ensure sufficient siphon space and a secure connection to the hose.
- Accessibility: plan a service hatch of about 20 x 30 cm for the tap and shut-off valve. Check if you can easily close the main valve.
- Electrical: provide at least two grounded sockets on separate circuits for washing machine and dryer, plus an extra outlet for lighting or accessories. Do not place directly behind the machine, but slightly higher and accessible from the side.
- Ventilation and heat: give dryer and washing machine enough ventilation space. For a heat pump dryer, allow extra air circulation at the back.
If you have existing connections at different heights or positions, make sketches with measurements and photos. In many cases, you can cleverly design the cabinet modules around these with the configurator.
Design choices in the configurator
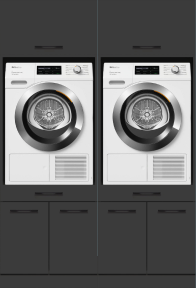
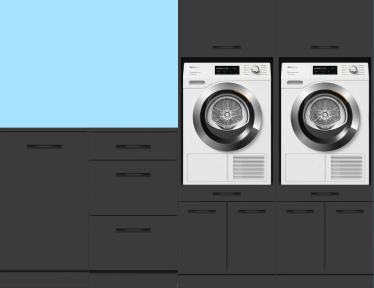
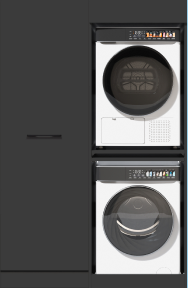
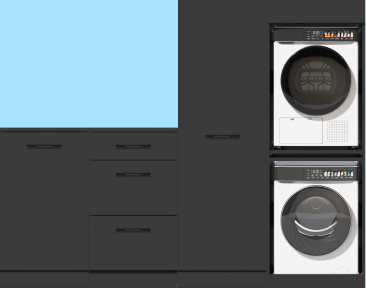
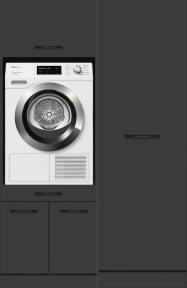
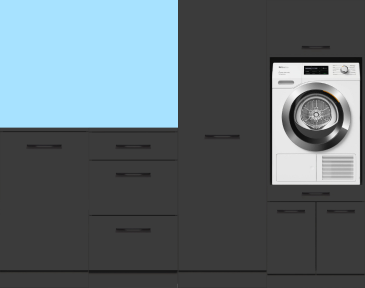
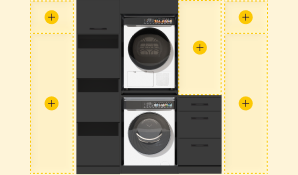
First, choose the basic setup: solo for one appliance with the Compact solution (Single series), Side-by-side placement (Double series) for a wide and ergonomic layout, or Stacking washing machine + dryer (Stack series) for a vertical setup. Then add modules such as drawers at the bottom for ergonomics, tall cabinets for storage, or an open compartment with worktop for sorting and folding. Select colors and handles to match your interior or choose push-to-open for a sleek look. Want a clean, dust-free appearance with closed fronts? Then check out the Closed washing machine cabinets. Pay attention to the net internal dimensions per module in relation to your appliances and plumbing. With Wasdroom, you assemble this plug-and-play and benefit from durable materials, soft-close, and a 10-year warranty on TÜV-certified models like the Wasdroom Double 1.0 and Double 2.0.
Ready to start? Go to Design your washing machine cabinet (online configurator), have your measurements at hand, and design a washing machine cabinet that fits today and works even better tomorrow.
