

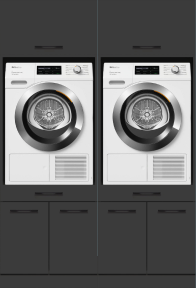
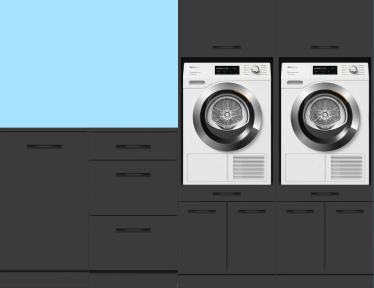
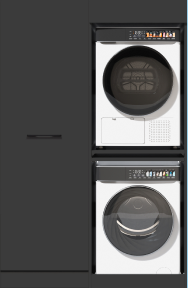
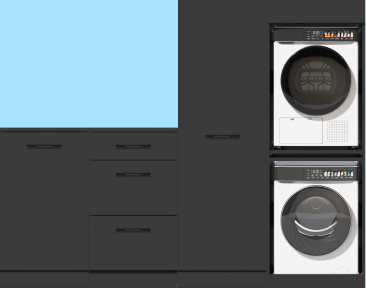
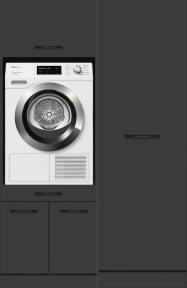
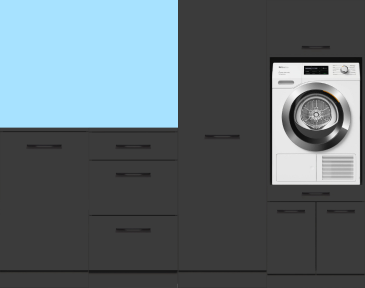
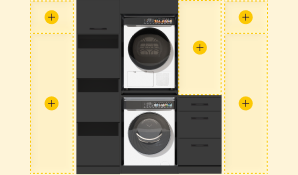

Do you want to perfectly adjust and securely mount your washing machine cabinet? With this compact step-by-step plan, you will level the cabinet, safely anchor it to the wall, and minimize vibrations—suitable for almost any setup.
Preparation: safe and tight result
Start with a quick check; use the Checklist: washing machine cabinet installation to ensure smooth adjustment and mounting. Check if the floor is flat and load-bearing, determine your wall type, and gather appropriate mounting materials. Allow free space for hoses, electricity, and ventilation so that appliances fit in the cabinet without tension. Route cables and pipes along the side and plan anchoring in the cabinet’s load-bearing zones. Tips for neatly routing pipes and drains can be found in Routing pipes and drains in a washing machine cabinet. Preferably use a TÜV-certified cabinet with high load capacity—such as the Wasdroom Single, Double, or Stack Series—to prevent sagging and play. Finally, prepare your tools: level or cross-line laser, socket and bit set, plugs and screws for your wall type, angle brackets or wall mounts, and vibration dampers or leveling plates.
- Wall type – choose the correct plugs and screws for concrete, sand-lime brick, or gypsum concrete.
- Free space – 2-3 cm around appliances, 5-10 cm on top for ventilation.
- Surface – stable, flat, and dry; correct unevenness with leveling plates.
- Safety – turn off power and water during installation and connection work.
Adjusting and mounting step-by-step
Leveling and aligning
First, place the washing machine cabinet square and level in both length and width directions. Adjust the leveling feet—or fill with thin leveling plates—until the cabinet does not wobble anywhere. Then check the diagonals of the frame for squareness. Place the washing machine with two people, let the hose and cable run freely, and level the appliance feet individually. See also Placing a washing machine in a cabinet: step-by-step plan for aligning and clamping. Perform a short wobble test and correct until the cabinet and machine stand stable as one unit.
Anchoring to the wall
Mark at least two—preferably four—anchoring points at the sturdy cabinet zones. Drill to size and use suitable plugs per wall type: through anchors or impact plugs in concrete, long nylon plugs or chemical anchors in sand-lime brick, hollow wall anchors or screw anchors in gypsum concrete. For a complete step-by-step plan: Mounting a washing machine cabinet to the wall. Attach with angle brackets or the supplied wall mounts. Tighten until play-free, but avoid deforming the cabinet. Check level again and close gaps if necessary with leveling plates. Finally, install vibration dampers under the machine to reduce resonance. More tips for a rattle-free installation: Preventing vibrations and noise in a washing machine cabinet.
Frequently Asked Questions
Do I need to secure my washing machine cabinet to the wall?
Yes, anchoring increases stability and safety—especially for stacked setups and tall cabinets. Use suitable plugs per wall type and multiple anchor points for a stiff, low-vibration construction.
How do I adjust the legs of my washing machine?
Level the machine front-to-back and side-to-side. Turn the leveling feet clockwise down or up against the cabinet floor, fix the lock nuts, and perform a wobble test. Still vibrating? Place anti-vibration pads. Read the detailed explanation in How do I stabilize my washing machine in a cabinet?.
How high should a cabinet hang above a washing machine?
Allow at least 5-10 cm of free space on top for ventilation and hose clearance. Place the outlet and tap within reach—ideally next to the machine—and avoid kinking cables and hoses.
